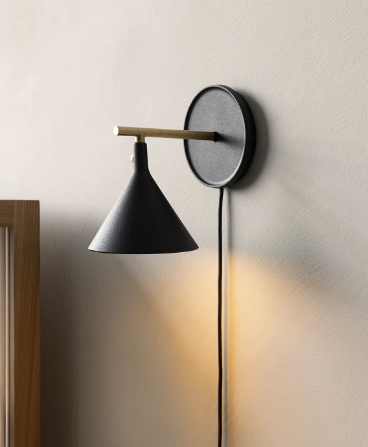
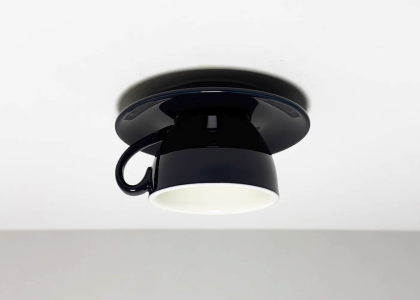
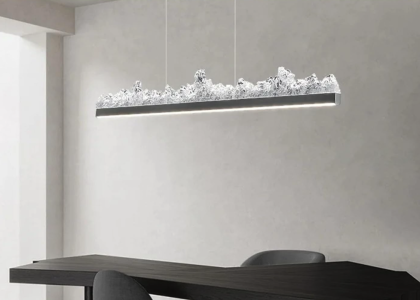
Selecting the ideal location for a wall lamp is a critical step that can significantly influence both the functionality and aesthetic appeal of a space. The first consideration should be the purpose of the lamp. For instance, if the lamp is intended for reading, it should be positioned at a height that allows for optimal illumination without causing glare.
Typically, this means placing the lamp around 60 to 66 inches from the floor, depending on the height of the furniture it will serve. Additionally, the proximity to seating areas is essential; a wall lamp should be within arm’s reach of a chair or sofa to provide convenient access to light. Beyond functionality, the visual impact of the lamp must also be taken into account.
The wall lamp should complement the existing decor and enhance the overall ambiance of the room. For example, in a modern living room with minimalist decor, a sleek, contemporary wall lamp can serve as a striking focal point. Conversely, in a more traditional setting, an ornate fixture may harmonize better with classic furnishings.
It’s also important to consider how the lamp will interact with other light sources in the room. A well-placed wall lamp can create layers of light, adding depth and warmth to the space while avoiding harsh shadows or overly bright spots.
Gathering the Necessary Tools and Materials
Before embarking on the installation of a wall lamp, it is essential to gather all necessary tools and materials to ensure a smooth process. The basic tools required typically include a drill, a screwdriver, a level, and a stud finder. A drill is crucial for creating holes in the wall for mounting screws, while a screwdriver will be needed to secure the lamp to its mounting plate.
A level is indispensable for ensuring that the lamp is straight and properly aligned, which is vital for both aesthetic and functional reasons. A stud finder can help locate wall studs, providing a secure anchor point for heavier fixtures. In addition to tools, having the right materials on hand is equally important.
This includes the wall lamp itself, which may come with its own mounting hardware. If not, it’s advisable to purchase appropriate screws and anchors that can support the weight of the lamp. Electrical wiring components such as wire nuts and electrical tape are also necessary if you are connecting the lamp directly to an existing electrical circuit.
Furthermore, safety gear such as gloves and goggles should be considered to protect against any potential hazards during installation.
Preparing the Wall and Electrical Wiring
Once you have chosen the location and gathered your tools and materials, the next step involves preparing the wall and electrical wiring for installation. If you are installing a new wall lamp where no electrical outlet currently exists, you will need to run new wiring from an existing source. This process often requires cutting into drywall and may involve working with electrical circuits, so it’s crucial to turn off power at the circuit breaker before beginning any work.
Using a voltage tester can provide an additional layer of safety by ensuring that no live wires are present. If there is already an electrical box in place, inspect it for any damage or wear before proceeding. Ensure that it is securely fastened to the wall and capable of supporting the weight of your new lamp.
If necessary, replace any damaged components or reinforce the box with additional screws or brackets. When preparing the wiring, strip about half an inch of insulation from each wire end using wire strippers, making sure to keep track of which wires are hot (live), neutral, and ground. Properly identifying these wires is essential for safe and effective installation.
Installing the Mounting Plate
With the wall prepared and electrical wiring ready, you can now proceed to install the mounting plate for your wall lamp. The mounting plate serves as the foundation for securing the lamp to the wall and must be installed correctly to ensure stability. Begin by holding the mounting plate against the wall at your chosen height and using a level to ensure it is straight.
Mark the locations of the screw holes with a pencil so you know where to drill. Using your drill, create pilot holes at each marked location. If you are drilling into drywall without hitting a stud, it’s advisable to use wall anchors to provide additional support for heavier fixtures.
Once your pilot holes are ready, align the mounting plate with these holes and secure it in place using screws. It’s important to tighten these screws adequately but avoid overtightening, which could damage the drywall or mounting plate itself. After securing the plate, double-check its alignment with a level before moving on to attach the lamp.
Attaching the Lamp to the Mounting Plate
With the mounting plate securely installed, you can now attach the lamp itself. Most wall lamps Mossshouse come with specific instructions regarding how they should be connected to their mounting plates, so it’s essential to refer to these guidelines during installation. Begin by aligning the lamp with the mounting plate; this may involve sliding it onto hooks or aligning it with specific grooves designed for this purpose.
Before fully securing the lamp, connect any electrical wires according to their designated colors: typically black (hot) to black, white (neutral) to white, and green or bare (ground) to ground. Use wire nuts to twist together corresponding wires securely and wrap them with electrical tape for added safety. Once all connections are made, gently tuck any excess wiring back into the electrical box before securing the lamp fully to its mounting plate with screws or other fasteners provided by the manufacturer.
Testing and Adjusting the Wall Lamp
Testing the Wall Lamp
After successfully attaching your wall lamp, it’s time to test its functionality and make any necessary adjustments. First, restore power at the circuit breaker and switch on your new lamp. Observe whether it illuminates properly; if not, double-check your wiring connections for any loose or incorrectly connected wires.
Troubleshooting Common Issues
If everything appears in order but the light still does not work, consider replacing the bulb or checking if there is an issue with the electrical circuit itself. Once you confirm that your wall lamp is functioning correctly, take a moment to assess its positioning and brightness level within the room.
Optimizing the Lighting Effect
You may find that adjusting its angle or height enhances its effectiveness in illuminating specific areas or creating desired lighting effects. If your lamp has adjustable features such as dimmers or swivels, experiment with these settings to achieve optimal lighting conditions tailored to your needs.
Final Touches
This final step ensures that your newly installed wall lamp not only serves its practical purpose but also enhances your living space’s overall atmosphere and design.


